
 CYCELL is composed of five tabbed sections.
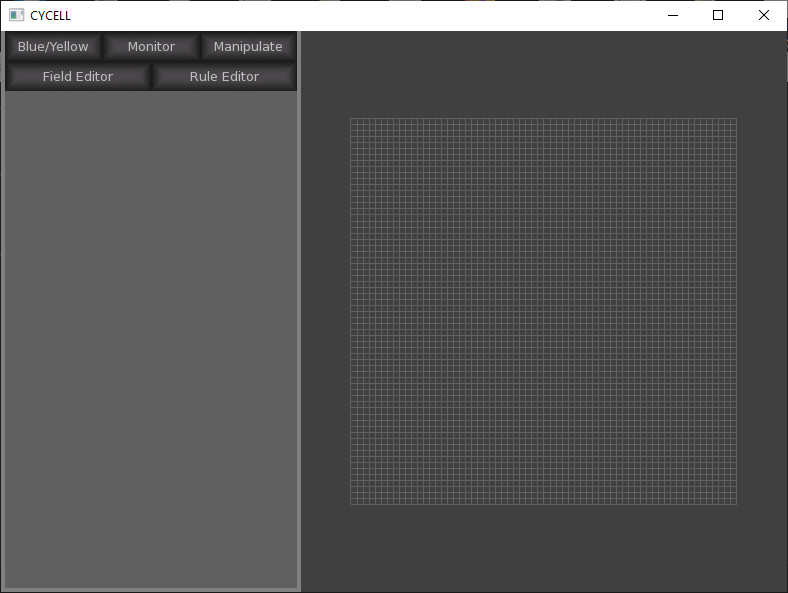
Before we get to them, let's agree on some terminology. We'll call the left side of the screen the Console. The right portion -- where your cells live -- will be called the Petri Dish.
The Petri Dish is zoomable with the mousewheel. And, holding down the right mouse button will allow you to pan your Petri Dish.
The Petri Dish is set up like a torus, with vertical and horizontal wrap-arounds.

The Blue/Yellow tab opens the cell sorter interface.
Every simulation you run will always have three built-in cell types called Default_Blue, Default_Yellow, and OBSTRUCTION. When you write your own Rules, even though you don't declare these three states, they will always be present.
The bottom part of this tabbed panel allows you to directly -- in real-time -- adjust the adhesions and sizes of these two special types of cells. You can place a
random grid of Blues and Yellows by clicking
The top part is a more general control panel for all the simulations.
The
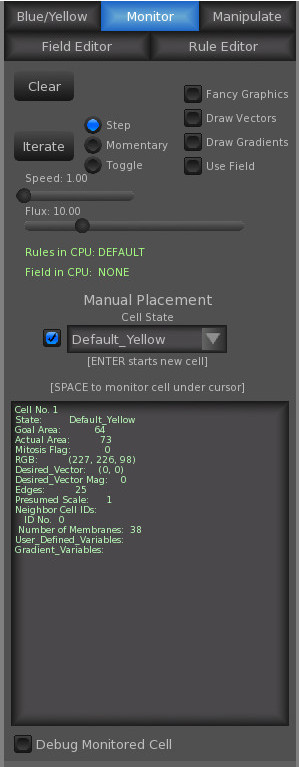
The Monitor tab opens an interface that allows you to place and monitor your cells.
The most important tool is the
After drawing your cells, pushing
While the simulation running, you can press Space while your cursor is over a cell, and you will be able to monitor the values of all the variables in that cell as the
simulation proceeds. Moreover, by clicking
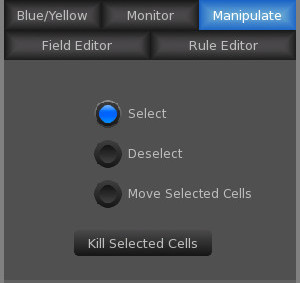
What's the point of growing artifical flatworms and the like if you can't cut them in half and see what happens?
The control planel under the Manipulate tab is pretty self-explanatory. At any time, you can tab over to it, select some cells to kill or move.
If you wish to move a group of cells around, select them and then click
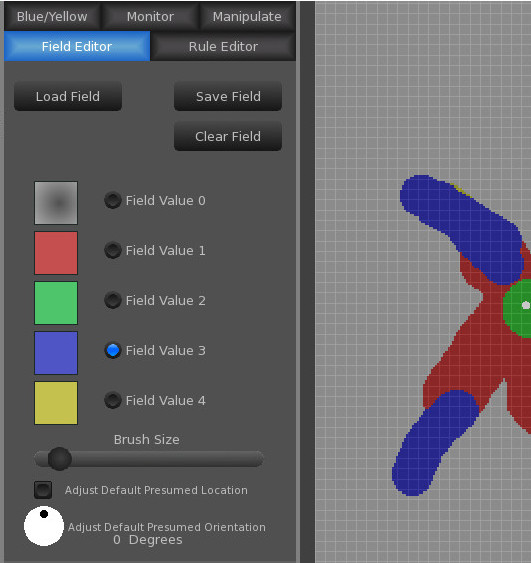
Fields can be complicated. In fact, the subject has its own page.
But, the Field Editor itself is a snap.
You have the ability to draw 4 different Fields. Each Field has its own color and number. (Field No. 0 means the absence of a field.)
The
Each cell has a default Presumed Location when it is first crated. The
Likewise, each cell has a presumed orientation... this too can be altered using the knob.
(As discussed in the Field section, there is also a presumed scale; this will always be set to 1.0 by default and can't be changed through the Field Editor.
Finally, the
(The CYCELL Fields are saved as simple .PNG files and, technically, they can be edited in other software. Keep in mind, though, that the color values have to be exact and the Presumed Location pixel is specially marked. Unless you really know what your are doing, we'd recommend sticking with the CYCELL editor.)
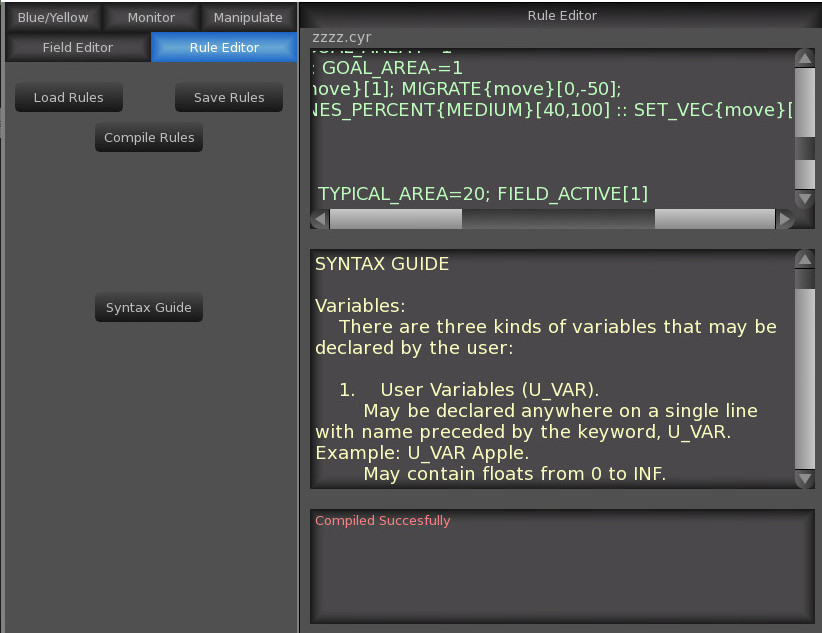
The Rule Editor is where all the magic happens. You can write your own little program to control your cells.
The
Once you have loaded or written your Rules, press the
The middle text-box in the diagram will open if you press